If your car paint feels a bit rough or it just looks dull even after you wash it, don’t blame the dirt. It’s more like that stuff has already become embedded contamination, you know, the kind that kinda bonds to the surface. A regular wash can’t really handle contaminants that are stuck in place, like industrial fallout, rail dust, tree sap overspray, and those pesky brake particles. how to use a clay bar That’s exactly why clay bar detailing matters. In this guide you’ll see how to use a clay bar the right way and remove paint contamination fast, with solid professional techniques and good quality products from Magic Auto Care.
What Is a Clay Bar and Why You Should Use One ?
A clay bar is a specially made elastomeric compound meant to lift bonded contaminants from your car painted surface, glass, and chrome. Picture it as a sort of magnet for microscopic debris that sneaks into the clear coat over time. how to use a clay bar Unlike washing, or even doing a quick polish, clay bar paint decontamination physically grabs the particles and pulls them away without scratching the surface, if you do it correctly.
The fingernail test: Run a clean fingertip across your car’s paint after washing. If it feels gritty or rough like sandpaper, your paint is contaminated and needs a clay bar treatment before any polish or wax is applied.
Types of Contamination a Clay Bar Removes
Understanding what a clay bar actually removes helps you appreciate the process. Common contaminants include:
- Industrial and rail dust (iron particles)
- Brake dust overspray
- Tree sap and pollen residue
- Road tar and asphalt
- Overspray from construction or nearby painting
- Water spot mineral deposits
- Bug splatter that has bonded to the surface
All of these contaminants are invisible to the naked eye post-wash but leave a texture that damages polishing pads, how to use a clay bar prevents wax adhesion, and dulls the finish. A clay bar for cars is the only safe way to remove them without abrasive cutting.
What Youll Need Before You Start
Before getting into a clay bar detailing session, make sure you have a few things together first, because otherwise it gets messy real fast and, honestly, it’s annoying.
Clay bar kit
Pick the correct kind of clay bar, use a grade appropriate version: fine grade if the paint is just lightly contaminated, medium grade for moderate buildup, nothing crazy.
Clay lubricant / detail spray
Never run the clay bar dry. You need a dedicated lubricant so it won’t drag, cause marring, and so the clay glides safely across the panel.
Microfiber towels
Use soft microfiber cloths with a higher GSM for buffing after each panel. Avoid terry cloth, it tends to grab too much.
Clean bucket & wash mitt
Do a proper two bucket wash before you clay, to lift off loose surface dirt, otherwise you’re basically smearing grit around.
Iron decontamination spray
Optional, but really recommended for how to use a clay bar cars with heavy fallout. If you have that, pre treat the surface before you start claying.
Gloves
Protect your hands, especially when using iron removers, they can be caustic and not in a fun way.
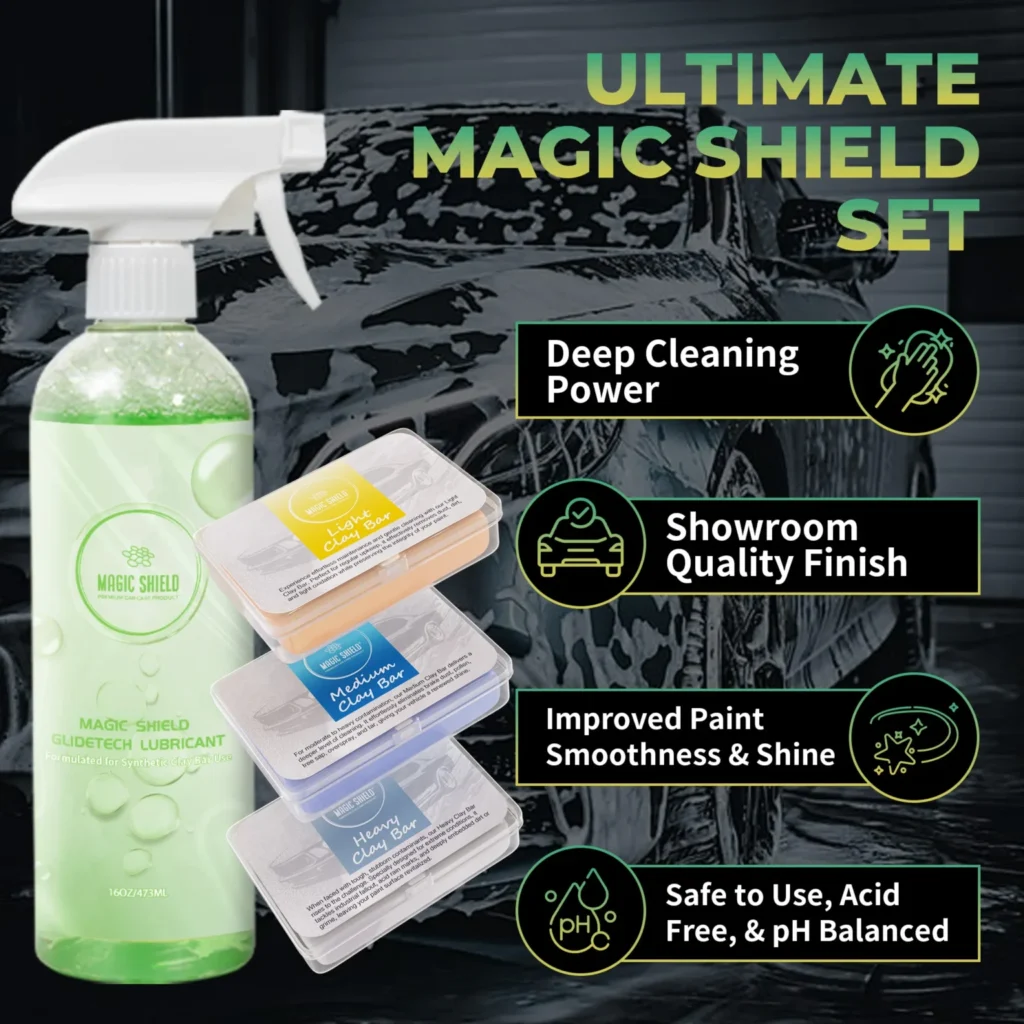
Professional Clay Bar Kit — magicautocare.store
Our kit includes a 200g fine-grade clay bar, 500ml pH-balanced clay lubricant, and two plush microfiber towels. Everything you need to perform a full clay bar paint decontamination on any vehicle. Formulated for all clear coat types including ceramic-coated vehicles.
How to Use a Clay Bar Step by Step
Do this really carefully, because if you rush the clay bar detailing you can end up with swirl marks and other surface problems. how to use a clay bar Work panel by panel and try to stay organized, like methodical, you know.
Step 1 — Wash the car thoroughly
Start with a proper two-bucket wash using a pH-neutral car shampoo. Take off all loose dirt, mud, and debris first. how to use a clay bar Don’t clay a dirty car, because you’ll basically grind grit into the paint and that creates unwanted scratches. Rinse really well and let the panels cool down if the car was sitting in direct sunlight.
Step 2 — Optional iron decontamination pre-treatment
If the car has moderate to heavy contamination, especially a daily driver, or something parked near train tracks, spray an iron remover across the painted areas. You should see a purple-to-red color shift ,that usually means iron particles are being dissolved. Rinse fully before you go further. This basically helps the clay bar bite better and it also makes the clay last longer, too.
Step 3 — Flatten and condition the clay bar
Tear off about one-third of your clay bar, then knead it until it turns into a flat patty, around the size of your palm. A flat work area means better contact with the paint surface. Keep the rest in its original packaging, and store it away from direct heat, OK.
Pro tip from Magic Auto Care: If you drop your clay bar on the ground — even once — discard it immediately. Ground debris embeds into the clay and will scratch your paint on the next pass. Never risk it.
Step 4 — Lubricate the panel generously
Spray your clay lubricant pretty generously onto a 40cm x 40cm section of the panel you’re working on. You want it to look visibly wet, and slick. Skimping on lubricant is the most common mistake beginners make, by far. The clay has to be able to glide freely, if you notice any drag at all then you need more lube spray, right there.
Step 5 — Clay in straight lines
Put the clay bar flat against the lubricated paint, then move it using straight overlapping lines — don’t ever go in circular motions. Work horizontally first, then vertically if it helps. Use light, even pressure. how to use a clay bar At the start you’ll feel some resistance, because contamination is getting picked up. That friction should drop a lot as the panel gets cleaner. Keep re-spraying lubricant while you go, don’t just “hope” it stays slick.
Step 6 — Fold and inspect the clay regularly
After each panel, inspect the contact face of the clay. You should see greyish or darker streaks where it grabbed grime. Fold the clay to expose a clean surface before you move on to the next area. Never use a contaminated face, because you’ll essentially drag old particles back onto the paint, which is… kind of the opposite of what you want.
Step 7 — Buff the panel dry
When you’re done with a panel, buff away the lubricant residue right away using a clean dry microfiber towel. Keep your passes in straight lines, not messy swirls. The paint should now feel glassy, smooth. Run your fingertip across it to double-check. If you can still feel texture, then clay that section again, no delay.
Step 8 — Repeat across all panels
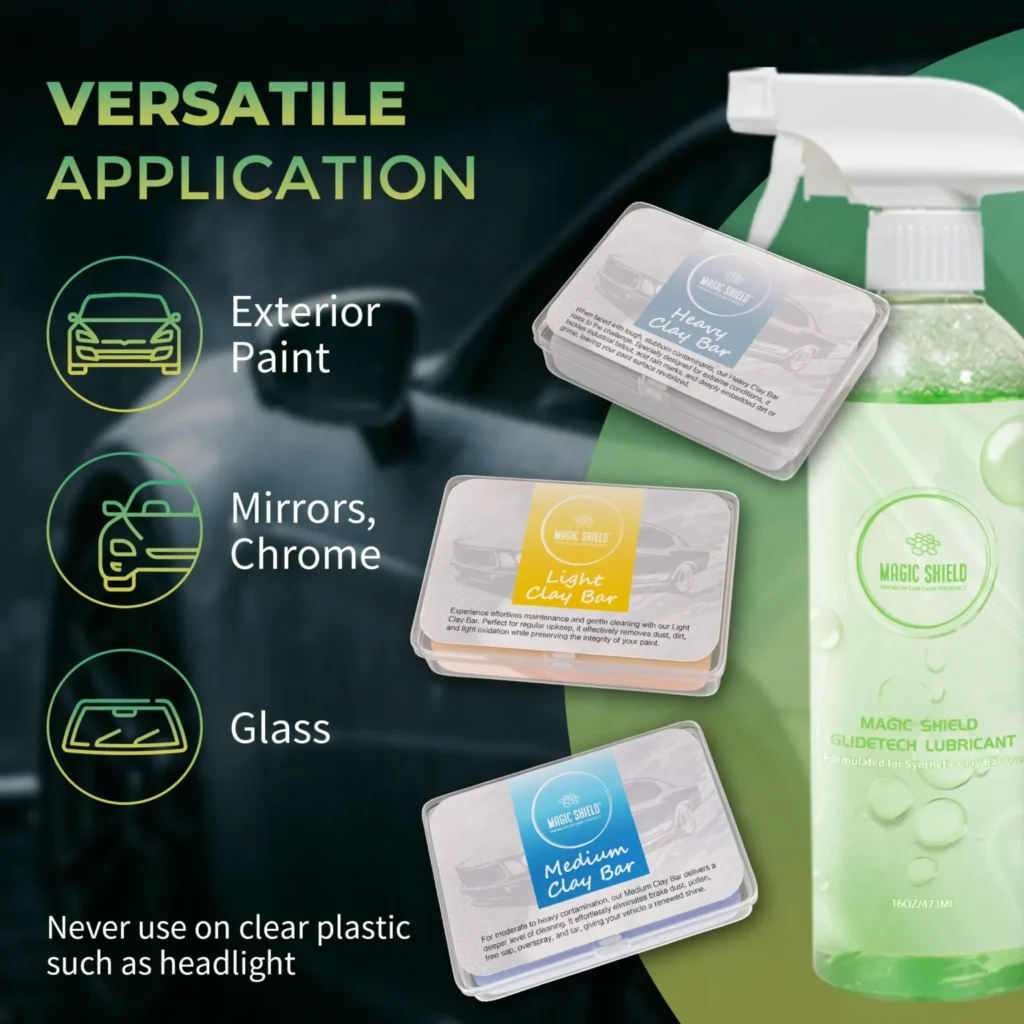
Go around the entire vehicle, panel by panel: hood, roof, trunk, doors, fenders, bumpers. Don’t forget glass and chrome either, clay works on those surfaces safely too, just keep it lubricated. Finish with windows and mirrors for that extra crisp look.
Step 9 — Protect immediately after claying
A freshly clayed surface is stripped of whatever protection it had. Don’t leave it bare, not even for a minute. Apply a quick detailer spray, or carnauba wax, then move on.
Frequently Asked Questions About Clay Bar
Q1. Is a clay bar safe for all car paint types?
Yes — if you use the right lubrication and a fine-grade clay bar, it’s pretty safe across most modern finishes, like single-stage paint, base coat/clear coat systems, and even ceramic coated cars. Matte paint is also doable but make sure you use a matte-safe lubricant, otherwise you can dull things out in a weird way. For vinyl wraps and similar coverings , be careful. And if you’re unsure, do a quick test on a small, hidden spot first.
Q2. Can I use a clay bar on car windows?
Sure you can. Using clay on glass lifts grime, road film, and those mineral leftovers from water spots, plus it helps with silicone overspray that wiper blades usually just push back around. Use the same lubricant spray and keep the motion in a steady straight line. After claying, your wipers will usually glide better and rain visibility feels better too.
Q3. Do I need to polish after using a clay bar?
Not always, but it’s a good order of operations. The clay bar mainly decontaminates the surface, it doesn’t really “fix” defects like swirl lines, haze, or light scratches. So if you notice defects, polish after claying, then go on with your wax or sealant. If the paint already looks defect-free, you can move straight to protection after claying and call it done.
Q4. Where can I buy a quality clay bar kit in Austrailia?
You can get a solid clay bar kit, plus lubricants, microfiber towels, and full decontamination bundles, from magicautocare.store. They curate everything for quality, so the outcomes are meant to be on par with what you’d see from professional detailing shops.
Also Read:
Car Detailing Tips for Beginners – A Complete Step-by-Step Guide
Car Detailing Gold Coast Australia – Professional Interior & Exterior Auto Care